Software localization
I18n Tutorial: How to Go Multilingual with Hugo

In this tutorial on i18n with Hugo, we are going to build a beautiful blog including i18n support. Previously, we have seen some great examples of implementing i18n with Gatsby. Now we can take a look at an example with another popular static site generator like Hugo. Additionally, we are going to see how we can integrate the Phrase in-context editor into our site and be able to browse the website and edit text along the way. The entire code is also available on GitHub.
Hugo and Static Sites
Hugo, just like Gatsby, is a website generator that produces static sites. A static website contains web pages with fixed content. That is only JavaScript, HTML, and CSS. There is a server hosting those static assets, but it does not have an engine to run scripts (node, python, etc..). However, there may be content retrieved from other sources other than the web server hosting the site.
Hugo integrates with the popular go-i18n library and offers among other things a simple API for multiple locales. Previously, we have seen a tutorial on how to use this library in Go applications. This comes of course with all the pros and cons, so we need to be aware of this situation.
Let us start layering down a basic site using Hugo and see how we can make it more localizable. First, let us start with the preliminaries.
Install Hugo
Follow the installation instructions as described in the Hugo quick start guide. For example, in Mac you can install it as easy as:
brew install hugo
Test that the installation was successful by asking Hugo to print its software version:
➜ hugo version

Hugo Static Site Generator v0.53/extended darwin/amd64 BuildDate: unknown
Create a new site and install a theme
We create a new Hugo site in a folder named phraseapp-hugo-i18n.
➜ hugo new site phraseapp-hugo-i18n

➜ cd phraseapp-hugo-i18n
By default, there is no theme selected, so if you run the development server, you will see an empty page. In order to make our demo easier to work with, let's install a theme to use.
We will use the Aether theme.
git clone https://github.com/josephhutch/aether.git themes/aether

echo 'theme = "aether"' >> config.toml
Now, if you run the development server, you can check that the site loads.

Configure the Locales
Next, we need to define the list of available locales we would like to support. For this tutorial, we are going to use English and Greek. We need to add appropriate language entries to the site config.
Add the following code to your site's config.toml
....

DefaultContentLanguage = "en"

[languages]

  [languages.en]

    title = "My New Hugo i18n Site"

    languageName = "English"

    weight = 1

  [languages.gr]

    title = "Η Νεα μου Ιστιοσελιδα"

    languageName = "Greek"

    weight = 2
If you notice, we have replaced the titles for each locale with their translations and assigned some weights. Hugo offers the option to define any sort of Params per locale and they will be displayed correctly. We also defined a DefaultContentLanguage. This is useful to explicitly provide a fallback language in case translations are missing. This will fall back to English, but we can change it to Greek if we wanted.
Tip: If you want to have the default content language always prefixed in the URL, then you can add the following entry to the config:
defaultContentLanguageInSubdir = true
Then, when you open the site to the default URL, it will redirect to localhost:1313/en. instead of localhost:1313/
Now let's test our translations. Cope some post content from the theme's exampleSite folder and restart the server.
➜ cp -R themes/aether/exampleSite/content content/

hugo server -D

If you navigate to the localhost:1313/gr path, you will see the title correctly translated but the content was not. We need to provide some translations to our content and tell Hugo where to find them. There are two possible ways we can do that.
With Filenames
This is the default mode. For each content resource, we create we need to provide an associated translated resource with the language code as a suffix to the name of the file for example in our posts:
- /content/post/my-first-post.gr.md: For the Greek translation
- /content/post/my-first-post.md: For the default language translation (English)
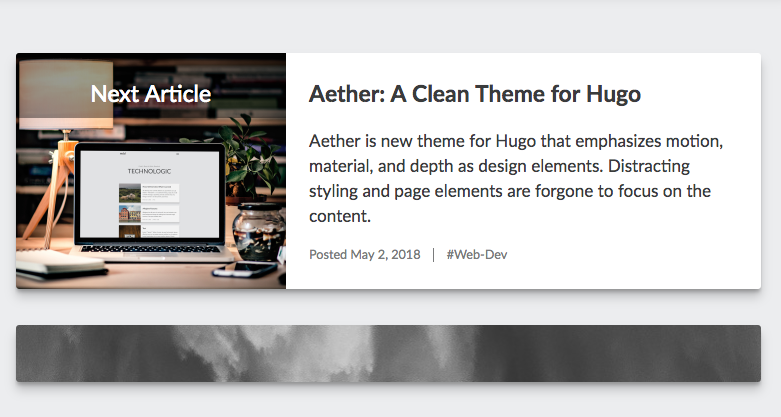
The base file name and the path (/content/post/my-first-post) are the common part and are used to link together those files as the same post. If you create this translated file, you will see it in the list:

Tip: If we wanted to link different pages to the same post, then we need to use the following directive in our front-matter config on all linked pages:
translationKey: "my-frst-post"
For example, create a new post named "το-πρώτο-μου-άρθρο.gr.md" and add the translationKey parameter to all 3 pages.
Then, if you start the server, you will see the Greek article in the English list and if you click on it, you will redirect to localhost:1313/greek/post/my-first-post/. This is useful when you want to combine multiple language articles in the same page.
By Content Folders
With this system, we need to reorganise our post content and put each article into language files. For example, we need to separate our Greek and English articles and put them into their own files.
- /content/greek/post/my-first-post.md: For the Greek translation
- /content/english/post/my-first-post.md: For the English language translation
Then, we need to tell Hugo to use those content files. We need to add the following parameter to the config:
[languages]

  [languages.en]

    contentDir = "content/english"

    title = "My New Hugo i18n Site"

    languageName = "English"

    weight = 1

  [languages.gr]

    contentDir = "content/greek"

    title = "Η Νεα μου Ιστιοσελιδα"

    languageName = "Greek"

    weight = 2
Note: If you specify a content dir for Greek you need to specify for the English as well to prevent duplicate common path errors.
If you run the server again you will see the list of articles by language.
Adding and Using Translations
We have seen how we can translate our posts and articles, but how can we translate some of the theme's strings? As Hugo leverages the go-i18n library, we can define our translation messages in a folder and use the special template function to reference those strings when the site is served.
First, we need to create the messages folder which by default is /i18n.
mkdir i18n &&

cd i18n &&

touch en.toml &&

toucn gr.toml
Let's say we want to translate the Home text link that appears on each post. We need to find the associate HTML which is located in themes/aether/layouts/partials/home-card.html. and change it with the following HTML:
<a ontouchstart="cardPressed.call(this)" ontouchend="cardReleased.call(this)" ontouchmove="cardReleased.call(this)"

  href="/" class="card home-card" style="background-image: url({{if isset .Site.Params "homeimg"}} {{ .Site.Params.homeimg | safeCSS }} {{ else }} /img/grey-cloud.jpg {{ end }})" rel="bookmark" >

  {{ T "home" }}

</a>
Here, we have used the T template function to instruct the template compiler to look at the translations folder of the current locale for the "home" key and load the message. If we run the server now, we won't see "Home" text anymore because our translations are empty.

Let's add the translations now for each locale:
[home]

other = "Home"
[home]

other = "Αρχική"
Here, "other" means that the message follows the default plural rules. If we wanted to specify a different translation based on a count, we can use one of the following keys: zero, one, two, few, many.
Restart the server and you can see the "Home" text translation.

You can continue and replace the rest of the hardcode strings now with their translations.
Creating a Language Dropdown
Once we have set up our languages, Hugo exposes the following parameters for us:
- .Site.Languages: A list of all languages
- .Site.Language: The current language
In addition, each Page will have the following parameters
- .IsTranslated: To check if the content is translated
- .Translations: The list of all Translations of the page
Let us use them to create a language list so the users can switch the language from the nav-bar. Add the following code to themes/aether/layouts/partials/nav-bar.html just after the nav-header section. Also include the following CSS in the style.css:
<div>

        <ul class="language-list">

            {{ range $.Site.Home.AllTranslations }}

            <li><a href="{{ .Permalink }}">{{ .Language.LanguageName }}</a></li>

            {{ end }}

        </ul>

    </div>
Now, run the server again and try to switch the language.

Using the Phrase In-Context Editor
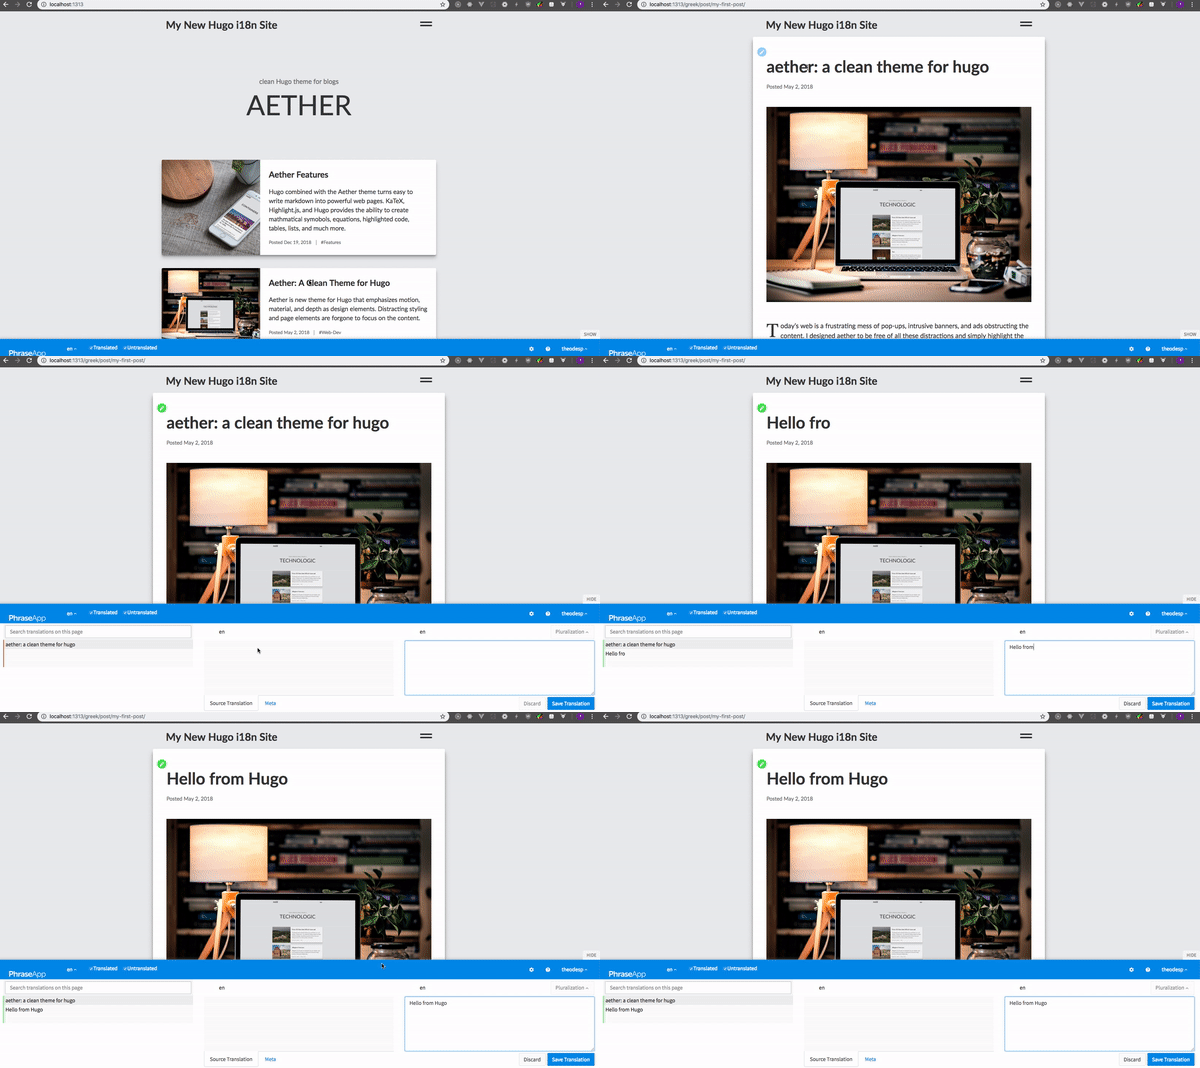
Phrase’s in-context editor is a translation tool that helps the process by providing useful contextual information, which improves the overall translation quality. You simply browse your website and edit text along the way.
In order to integrate it with Hugo, we need to be a little bit more resourceful this time. We need to wrap our existing translation keys with the unique identifier that the Phrase Editor requires. Currently, it is the following expression by default:
{{__phrase_ + key + __}}
We don't want to create a new shortcode or a custom function. The easiest way we can do that is to use the printf function and format each translatable string with a string we provide. If we enable the In-Context Editor, we can pass the key as required.
For example, we can change the title of every single article by modifying the layouts/_default/single.html:
<h1 class="post-title">{{ i18n (printf $.Site.Params.phraseapp_key .Title) }}</h1>
The phraseapp_key will be defined in our config as %s by default, but when we want to enable the editor, we can change it to:
[params]

  phraseAppEnabled = true

  phraseapp_key = "{{__phrase_%s__}}"
Finally, we need to include the initialization script that will load the editor panel. We can modify the theme's layouts/partials/scripts.html file and add the following code:
{{ if eq $.Site.Params.phraseAppEnabled true }}

  <script>

    window.PHRASEAPP_CONFIG = {

      projectId: "<projectId>"

    };

    (function() {

      var phraseapp = document.createElement('script'); phraseapp.type = 'text/javascript'; phraseapp.async = true;

      phraseapp.src = ['https://', 'phraseapp.com/assets/in-context-editor/2.0/app.js?', new Date().getTime()].join('');

      var s = document.getElementsByTagName('script')[0]; s.parentNode.insertBefore(phraseapp, s);

    })();

  </script>

  {{ end }}
If you haven’t done that already, sign up for a free trial. Once you set up your account, you can create a project and navigate to Project Settings to find your projectId key.


Use that to assign the projectId variable in the PHRASEAPP_CONFIG before you start the server.
When you navigate to the page, you will see a login modal and once you are authenticated, you will see the translated strings change to include edit buttons next to them. The In-Context Editor panel will show up as well.

Conclusion
In this article, we saw how to add multilingual support to a Hugo website the easy way. We also took a look at how we can integrate it into our workflow with the Phrase in-context editor. If you have any other questions left, do not hesitate to get in touch with our team.


